Let’s get right into it. It’s been a long time since my last update. Since then, I’ve completely scrapped what I was working on, moved twice, and done so much more. Let’s dive into it.The last time I left off, I was in my dorm room using Ubuntu as the operating system. Now, I’ve switched back to Proxmox, and I like it much more. I also ran a Minecraft server for my friends in a Docker container for a while, but due to my current situation, I’m unable to host it again.For about six months, I didn’t touch my home lab because I was focused on graduating. After that, I moved, settled in, and finally got back to working on it around September 2025.At that time, I had Starlink Wi-Fi and decided to reimage my setup with Proxmox, which turned out to be a much better fit. However, Starlink’s Carrier-Grade NAT (CGNAT) prevents me from hosting a Minecraft server because it assigns a public IP address to multiple users. There are a few possible workarounds, but I’ll save that for a future update.
VMs, CasaOS, and Cloudflare
Over the past few months, I’ve installed several virtual machines (VMs). One of my favorites is CasaOS, which functions like a Docker server. It allows me to install Docker containers with a single click through its app store. Some of the projects I’m running on CasaOS include:
Plexarr and Jellyfin
Cloud storage
Minecraft servers
And more
You might be wondering how I keep some of these services secure, public, or both. To manage this, I use Cloudflare Zero Trust, which is incredibly easy to set up and allows for 2-Factor Authentication (2FA).
Security & VLAN Setup
One of my ongoing projects, which I’ll cover in a future update, is setting up Elasticsearch and Kibana for logging and monitoring. My goal is to allow my friend and me to remotely access and test a vulnerable machine—essentially practicing security analysis.The challenge was keeping my regular services separate from my hacking lab. To solve this, I started setting up VLANs in Proxmox and my Netgear router. However, I quickly realized I needed something more advanced.After reaching out to some friends, I got my hands on:
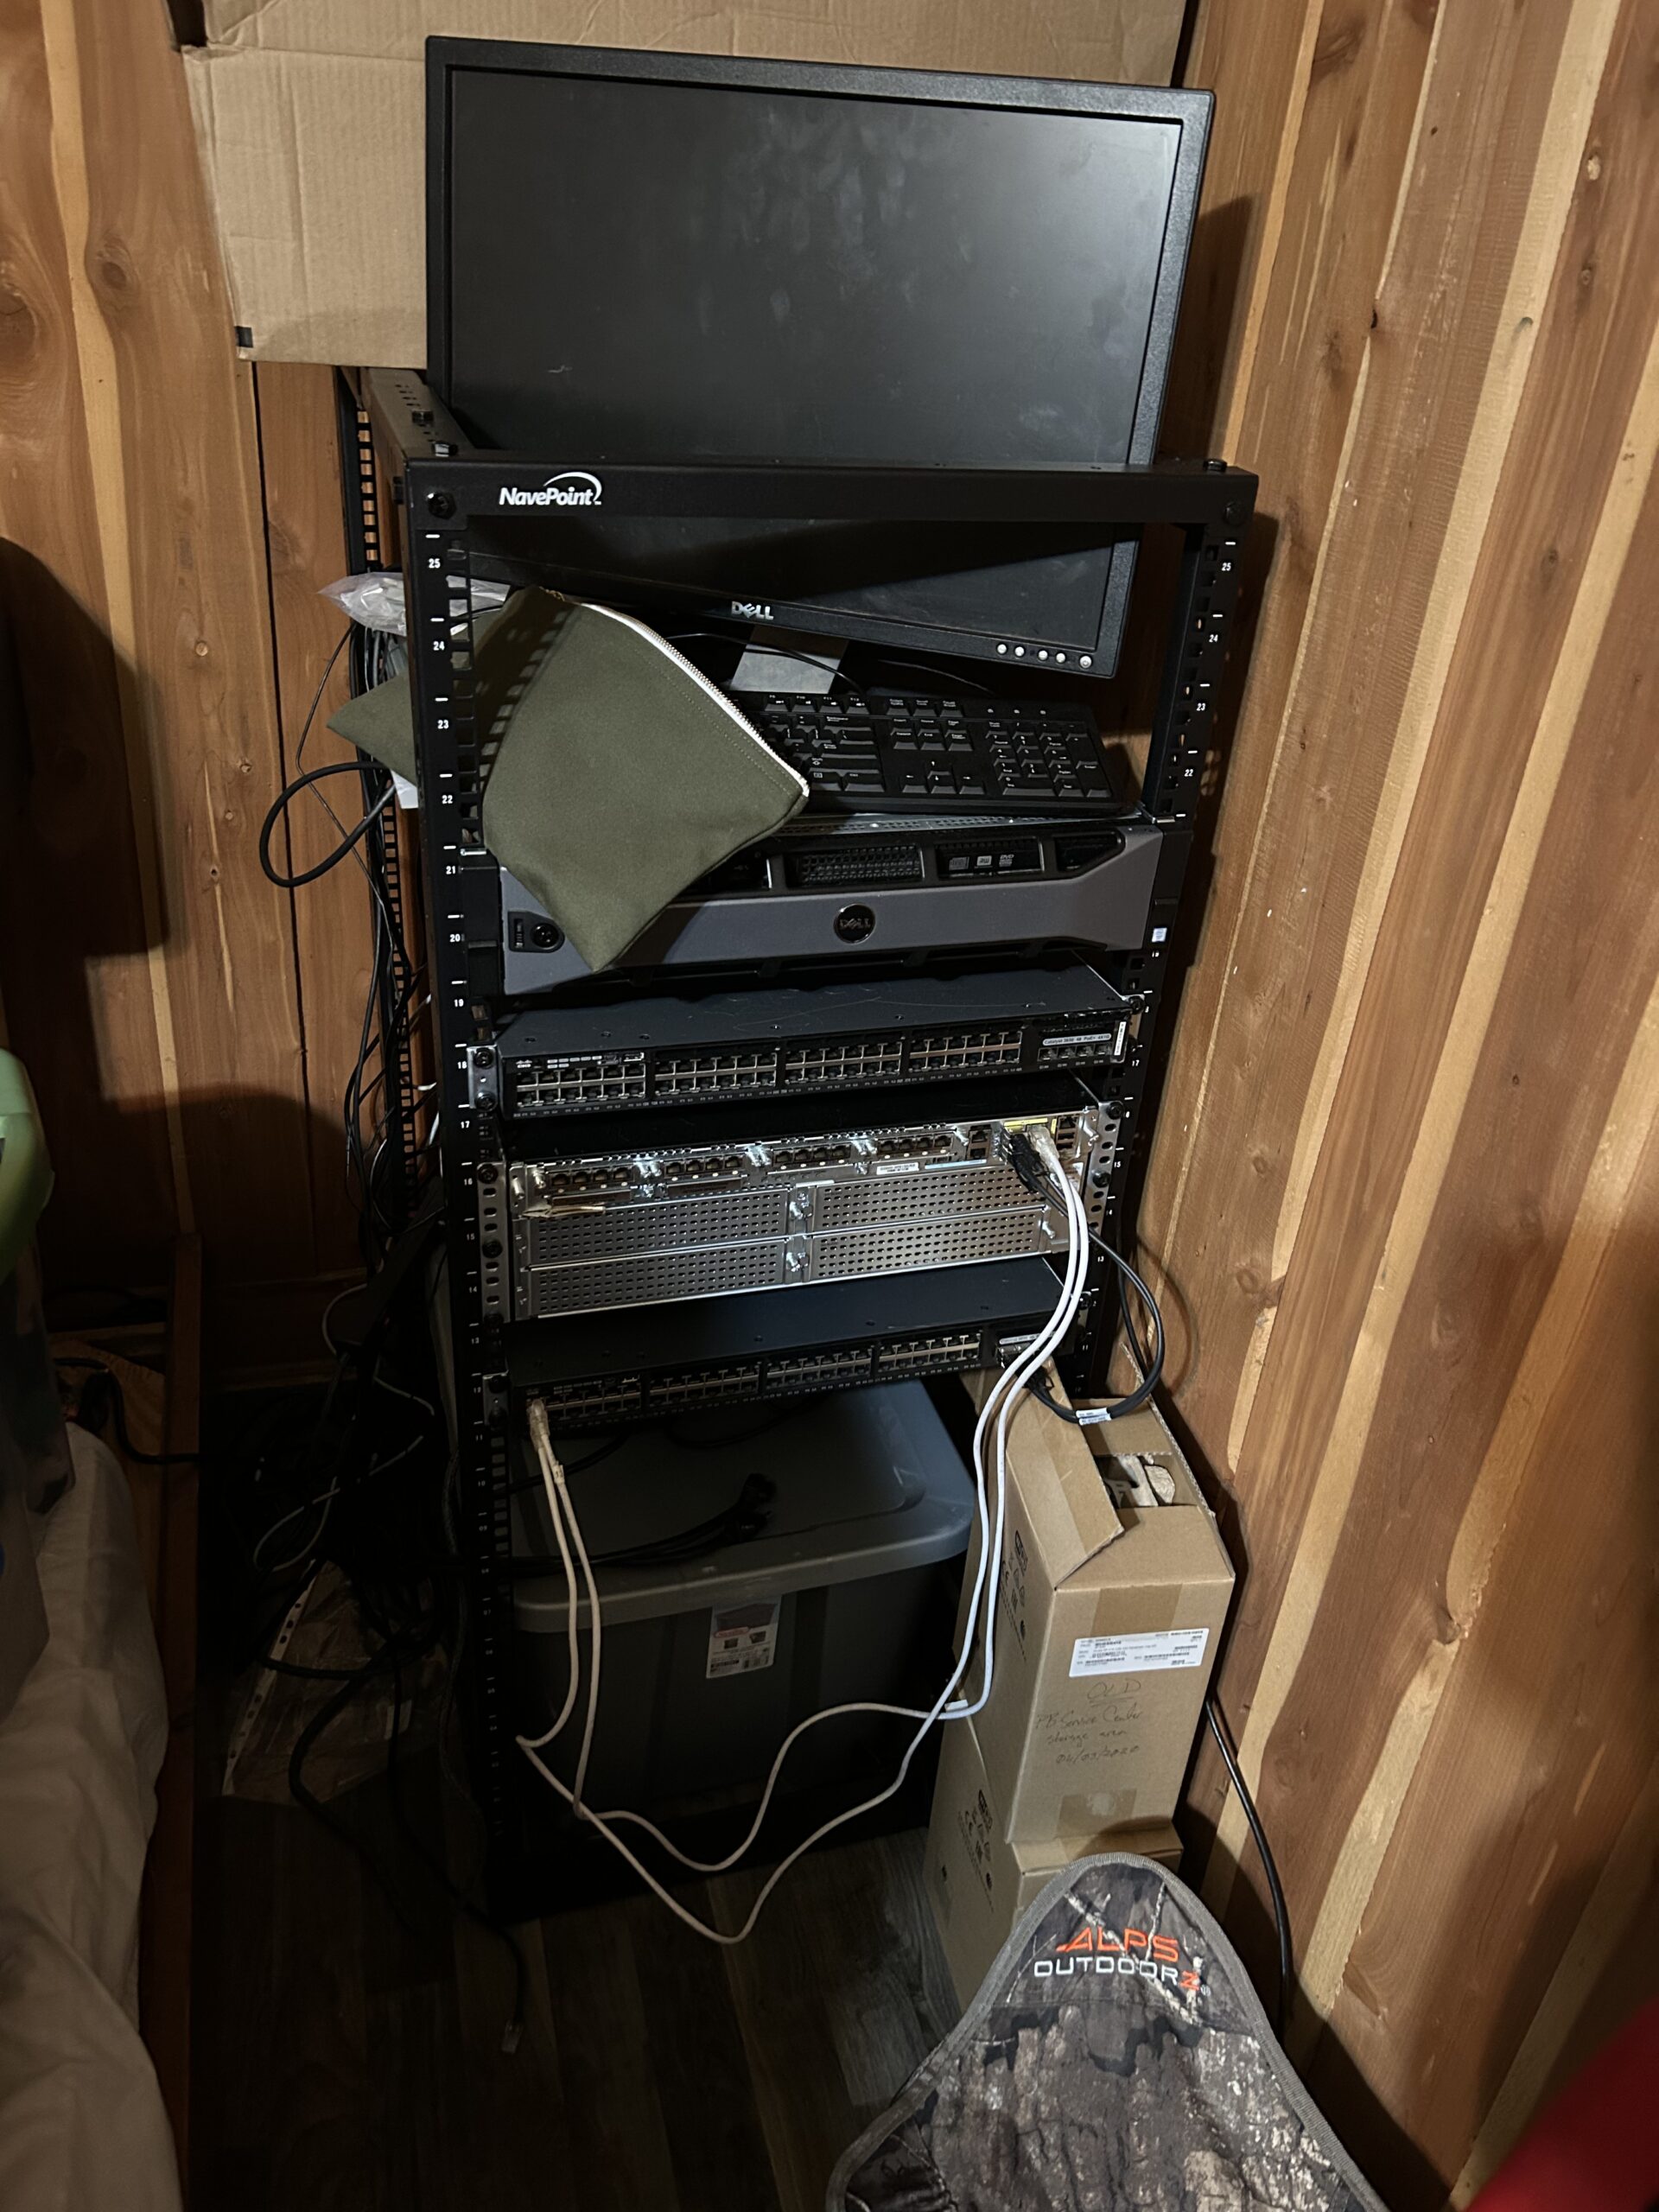
A Cisco 3900 router
Two Catalyst 3650 48+ POE switches
A few access points (APs)
This was awesome—except I don’t have antennas for the APs, so I’m still using my Netgear router for Wi-Fi until I get them configured.
Setting Up the Cisco Switch & Router
Once I got everything home, I started configuring the router and had it up and running within a few hours, setting up subnets for the switches.Moving on to the switch, I powered it on and was immediately prompted for login credentials. I assumed it had default credentials, but nothing worked.I searched the flash storage for the startup-config.text file but couldn’t find anything related to credentials. Even after running flash_init, I only had read-only permissions. Since I couldn’t rename or create a config file, I decided to TFTP a new configuration onto the switch.That didn’t go as planned. While troubleshooting, I found a command:set ip_address 0.0.0.0 255.255.0.0I also noticed another variable that looked like a boot config option. Taking a risk, I ran:set CONFIG_FILE=flash:startup-configIt worked! The switch booted without asking for login credentials, and I could finally start configuring it.
VLAN Configuration
With the router and switch set up, I configured them to communicate over VLANs.
Clearing Logs on the Switch
enableerase startup-configreload
Configuring VLANs on the Switch
I created VLAN 100 (Services) and VLAN 200 (Blackbox):
vlan 100
name Services
vlan 200
name Blackbox
Next, I assigned IP addresses and activated the interfaces:
This configuration worked—I was able to ping between the switch and router and verify that both VLANs were active.
Next Steps
The next phase is integrating my Dell PowerEdge server into this setup. But before that, I need to pick up more Ethernet cables to connect everything properly.If you have any questions, I’d be happy to answer them. I hope you enjoyed reading this and maybe even learned something along the way!